Every year Q42 organises a hackathon - W00tcamp. We take two days with all colleagues, invite some of our friends, form teams and try to create something that will amaze you, make you laugh but above all will be an awesome learning experience. This year I enhanced the slide at our The Hague office to have sound & light effects. Read this blog for more details how it came to be.
How do you approach a hackathon?
The goal at W00tcamp is to present your project to a jury at the end of the second day. It will be judged based on level of polish, impact & business value.
What I have learned from taking part in multiple hackatons and w00tcamps in the past years is that finishing something in just two days is hard. Taking the time after the hackathon ends to deliver a working result is even harder. This is the reason why I always have very clear requirements for the project which I bring forwards or team I'll join:
- Focus on building the MVP (you can always expand);
- Treat the night (aka party time 🍻) as if you are working overtime;
- New tech to explore? Do a spike before the hackathon;
- Going to use hardware? Make sure you have all components and did a PoC;
- Slim down the MVP to have the gut feeling it is doable in one day (it never is).
Lets talk about augmenting the slide
A few years back I played around with a sonar sensor + raspberry pi + camera to have the slide in our Amsterdam office take a picture when you slide. You can visit http://www.superslideqam.nl for a pretty detailed write up how it came to be. This gave me the trust that we could do something alike for our The Hague office in a similar time frame.
So for this years W00tcamp I wanted to enhance the sliding experience at our office in The Hague with Lights & Sound effects. You can find the initial pitch here (dutch).
The idea
What if you take the slide and by doing so trigger sound & light effects?
We had all sort of additional ideas if the time would allow it. We wanted to have a start & end sensor to measure your speed. We thought about using an iPad to capture a video of the slide and use facial recognition to make a high score per user (anonymous or mapped to known colleagues). But all these ideas were prioritised as non-mvp.
Hardware required
We needed to get a lot of components from local vendors or AliExpress which takes anywhere between 14-60 days to arrive:
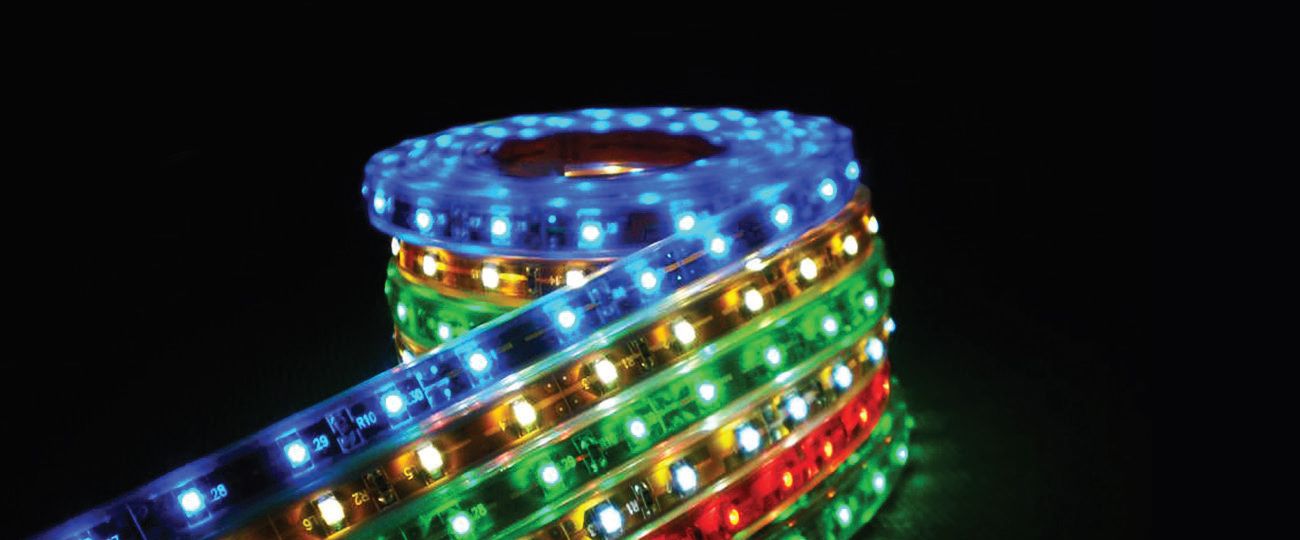
- LED strip of 5m @ 60 LEDS/meter (ws2812b chipset)
- Power supply for led strip (60mA*5m*60 -> 18A@5v) => 100W220v
- 1000uf capacitator (to prevent damaging LEDs on power surges)
- Raspberry Pi for sound effects
- Simple speaker
- Laser
- Laser-diode to receive signal
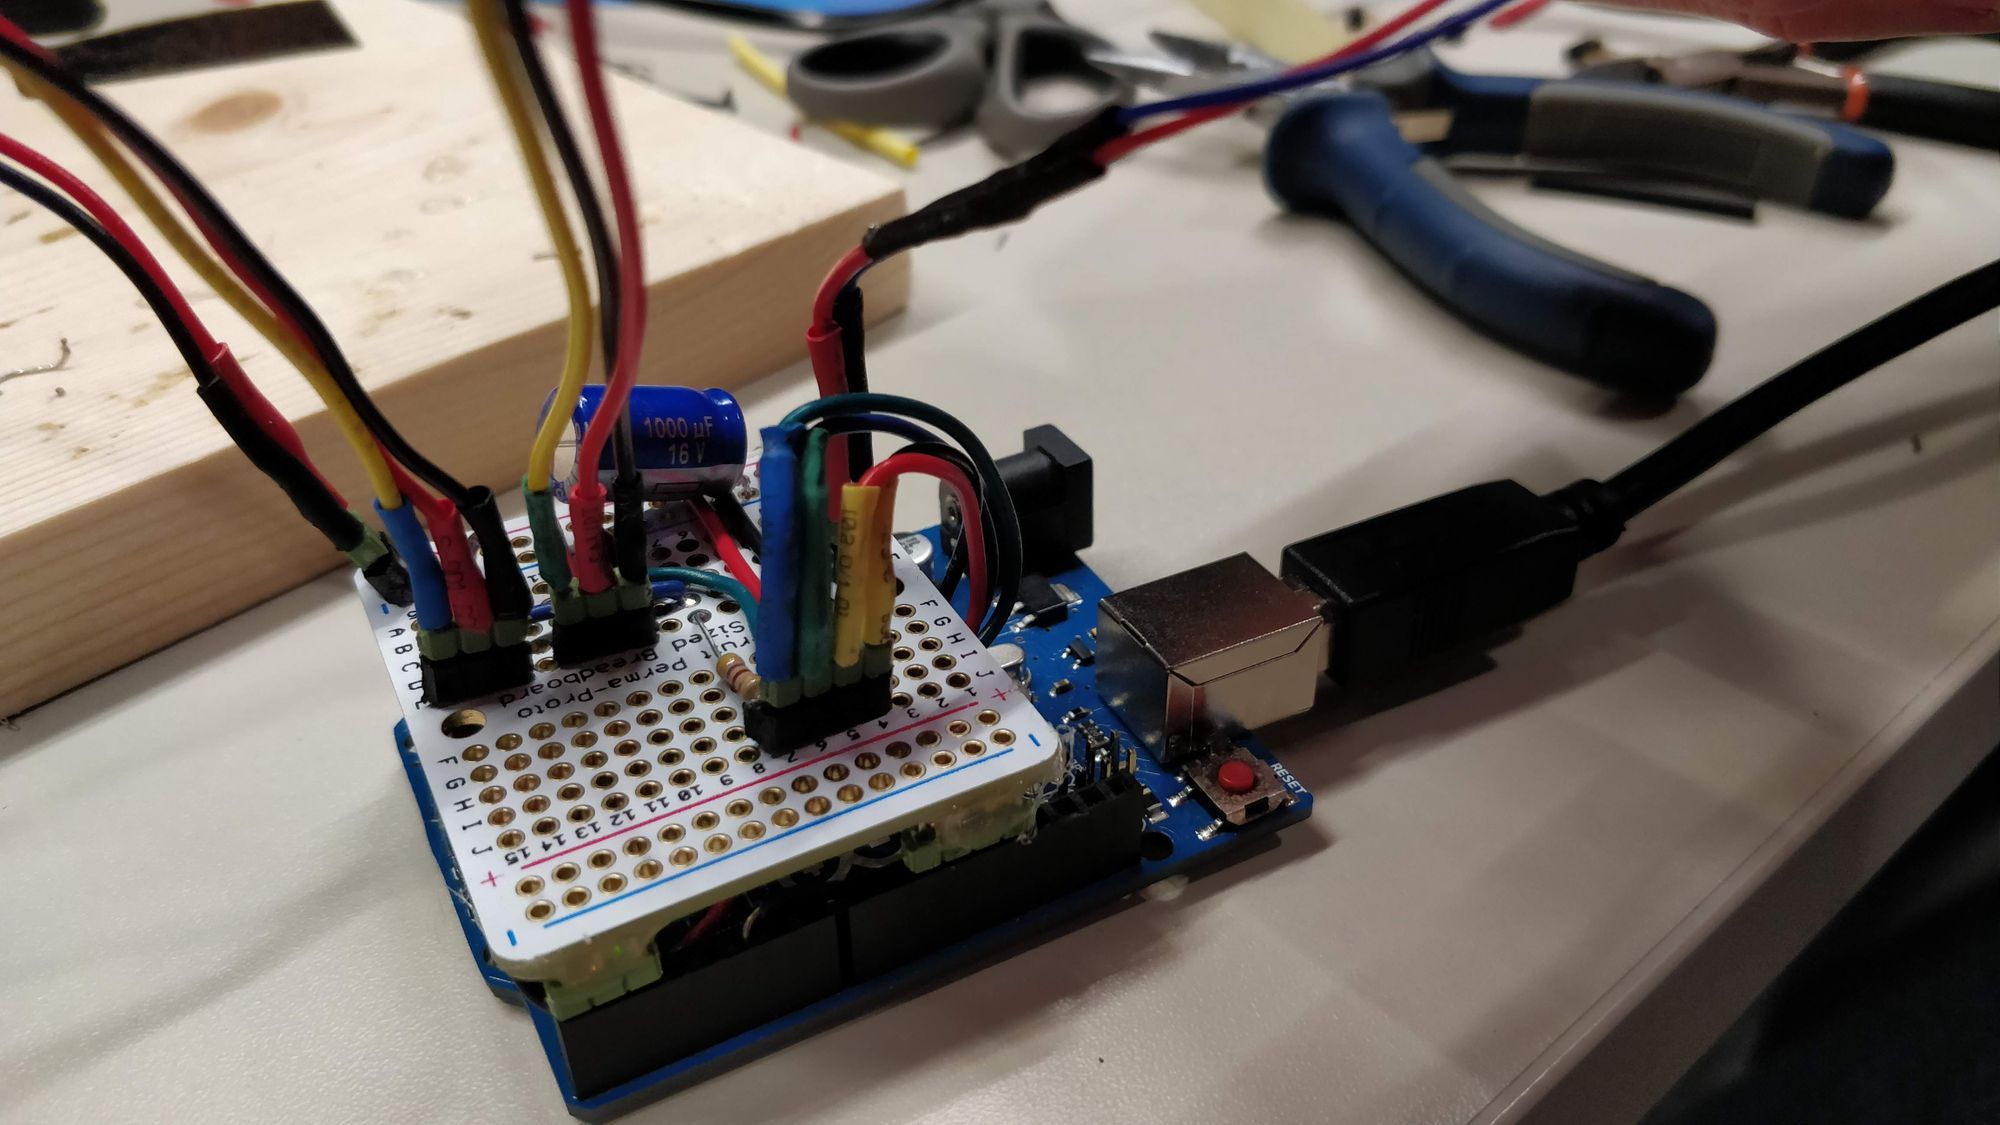
- Arduino Uno for sensor readings + LED animations
Note; Initially we used an Arduino for the Analog sensor readings + LED animations. A few weeks after W00tcamp we also found that we could directly plug the sensor + LED strip in the Raspberry Pi to further simplify the design using an Analog to Digital converter chip (MCP3002).
Designing the hardware
To determine that somebody is using the slide we made a simple tripwire by having a laser reflect back to a diode at the entrance of the slide:
Prototyping the casing & mirror assembly
We created a lot of iterations of the casing containing the laser and diode as well as the kinetic mirror mount to reflect the laser back to create the tripwire. Luckily we have a 3d printer at our office.
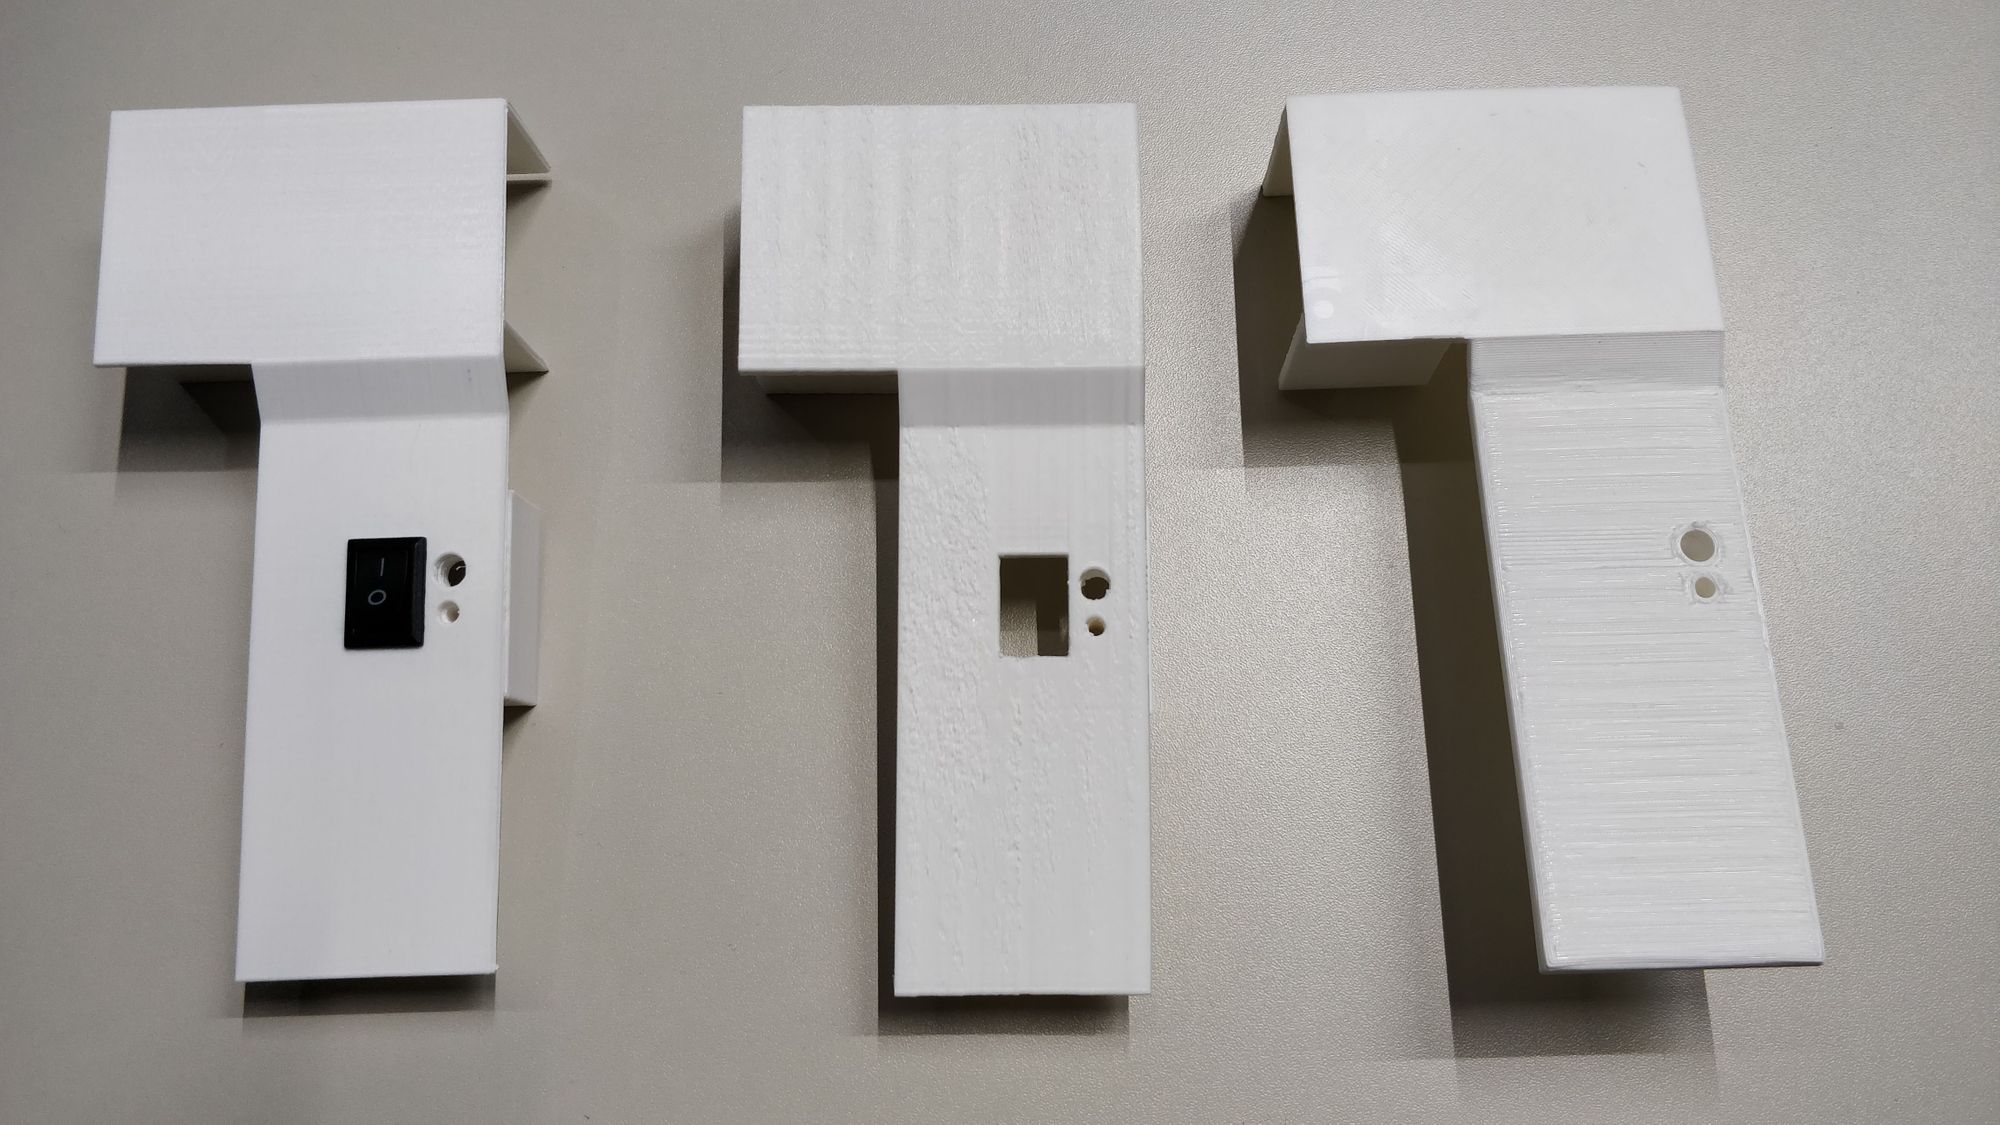
For reflecting the laser we created our own kinetic mirror mount so that we could adjust the angle at which the laser beam was reflected to have it directly hit the diode. These are pretty expensive to buy but again the 3d printer was a life saver.
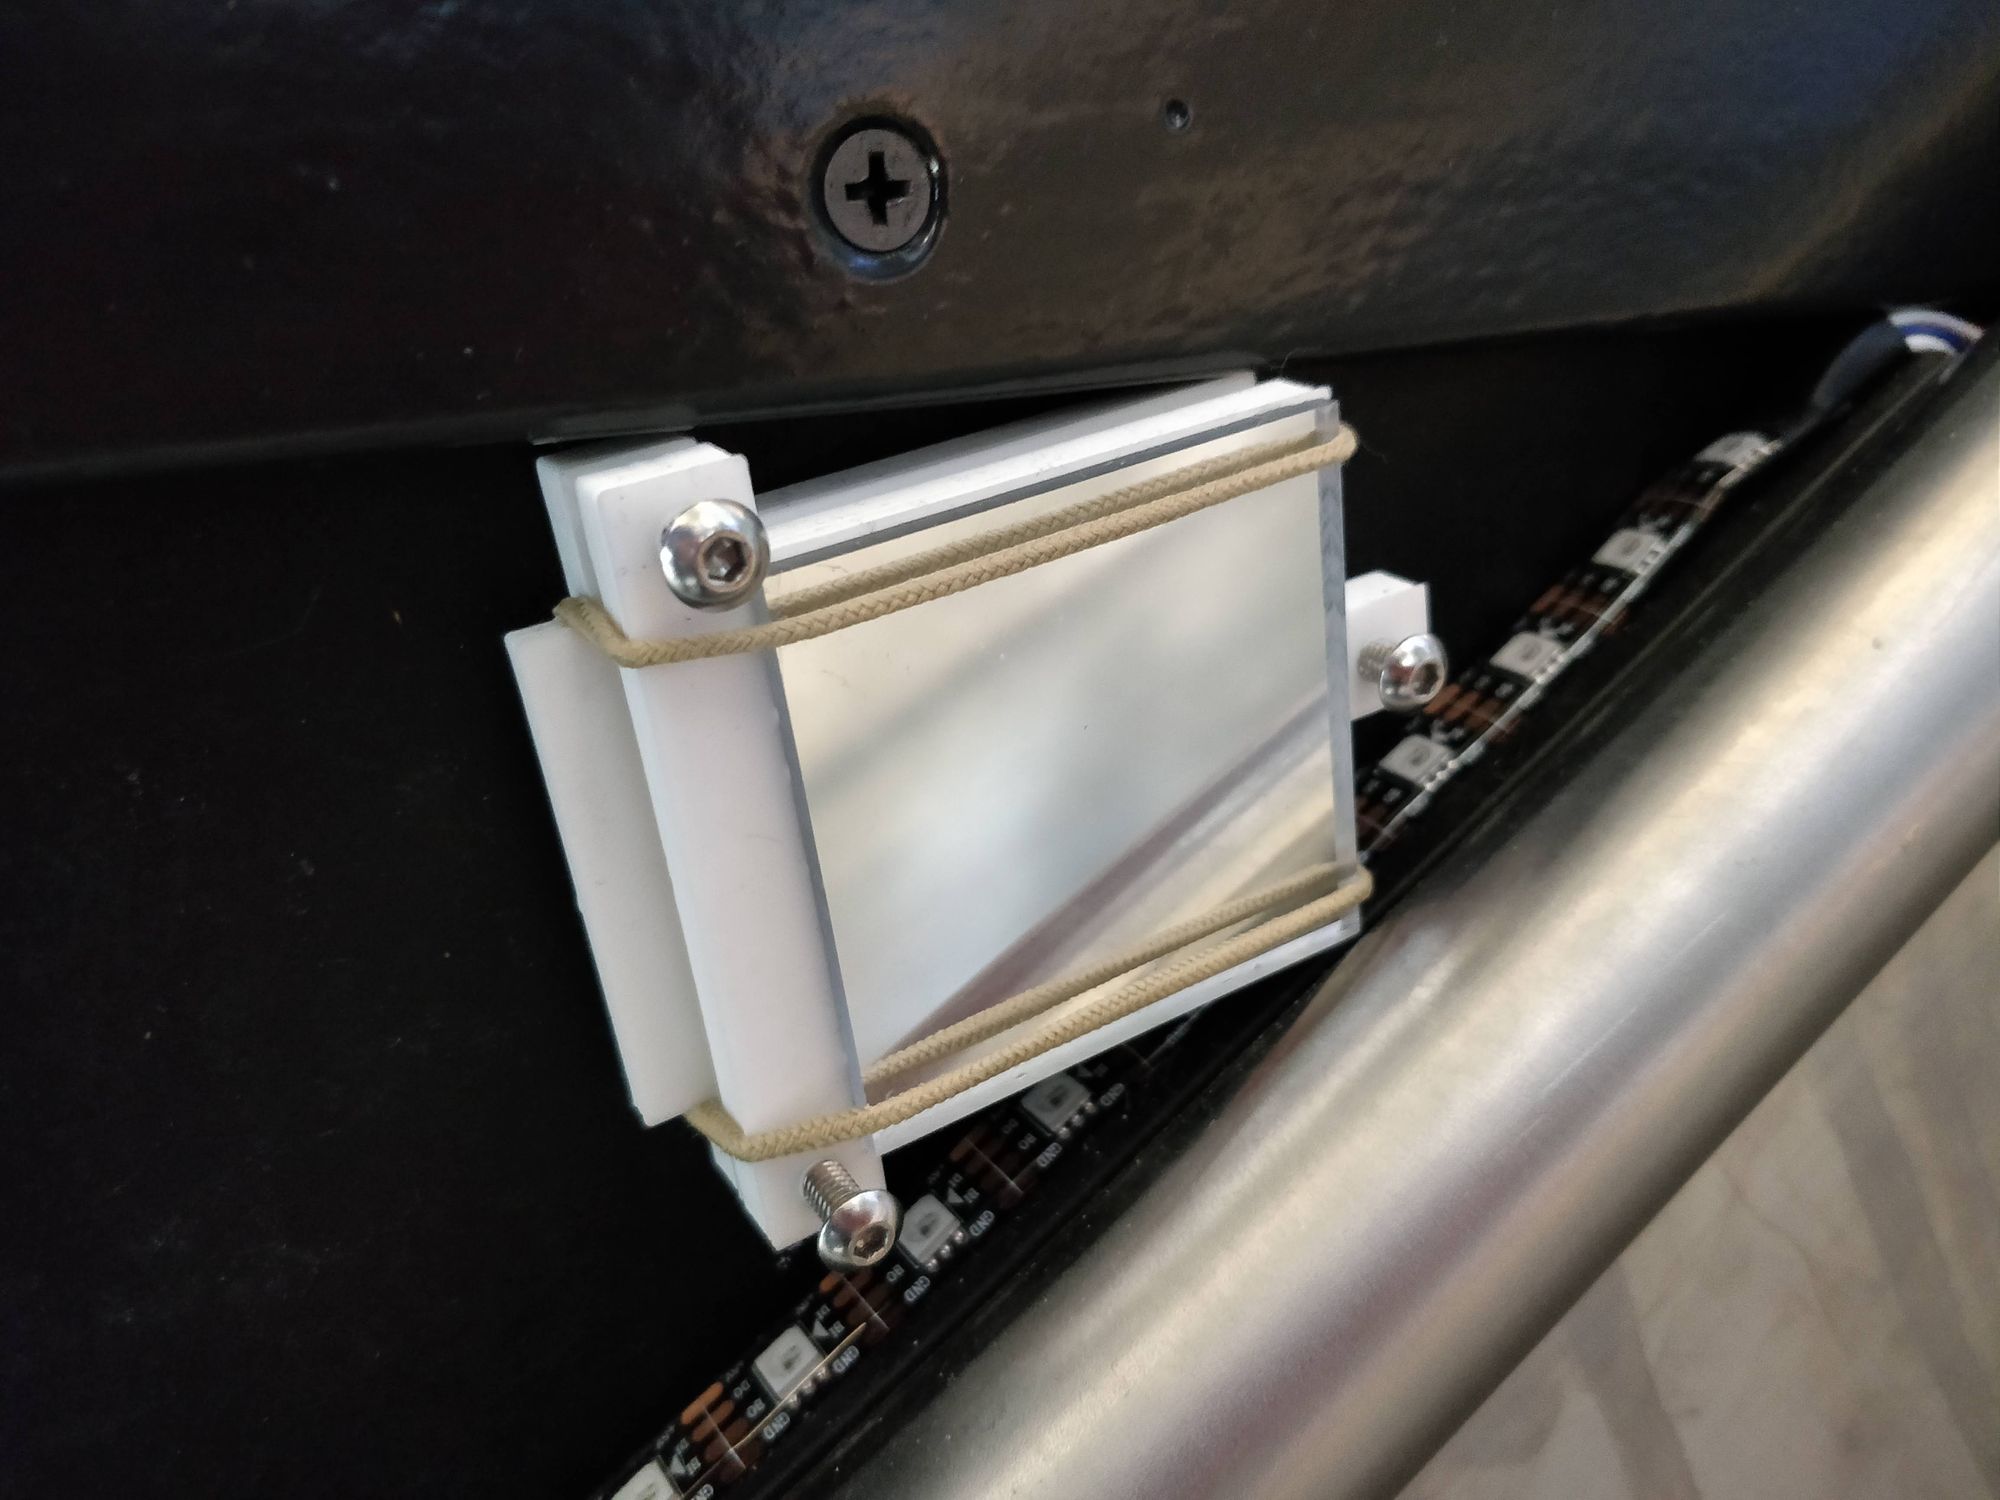
The kinetic mirror mount design my team member created is hosted on Thingiverse so that you can use this for your own project.
The result
#success!